
Bookify walkthrough · Ski & snowboard camps
Create your camp program
Set the name, age range, places and price. Then add the dates people can book.
Follow along in Pine Peak Snow School, our fictional sample camp.
Make the program people will choose
Open your camp dashboard
Open Camp admin in the demo bar. Choose Camp settings, then Camp templates. A template holds the name, price, age rules and forms you can reuse for each set of dates.
Choose Add Camp
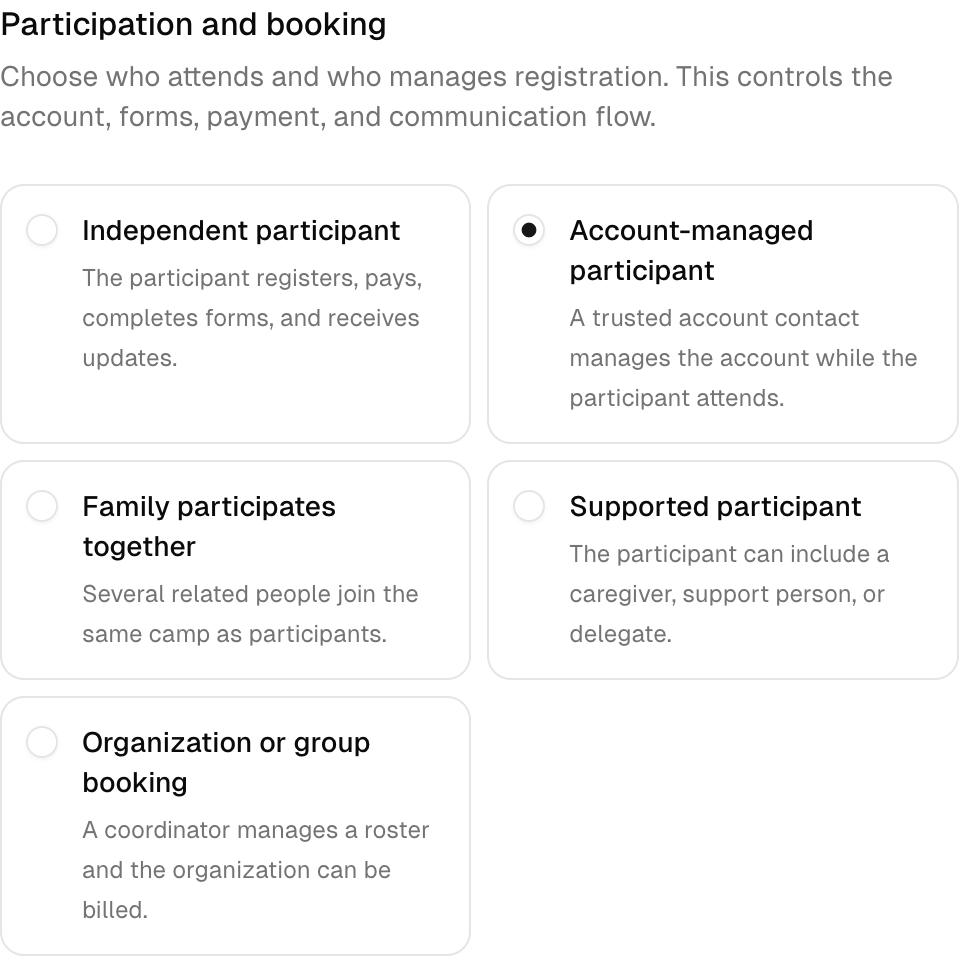
Give it a clear name, such as First Turns Ski Camp. In Camp setup, choose who attends and who manages the booking. Use Account-managed participant for children, Independent participant for adults, or Family participates together for a family camp.
Choose your category
Choose Ski & snowboard camps in Camp type. Camp types keep related templates together. If you need a different rule for this camp, turn off the matching “Use camp type default” switch before changing it.
Make the details clear
Set the length, places and age range
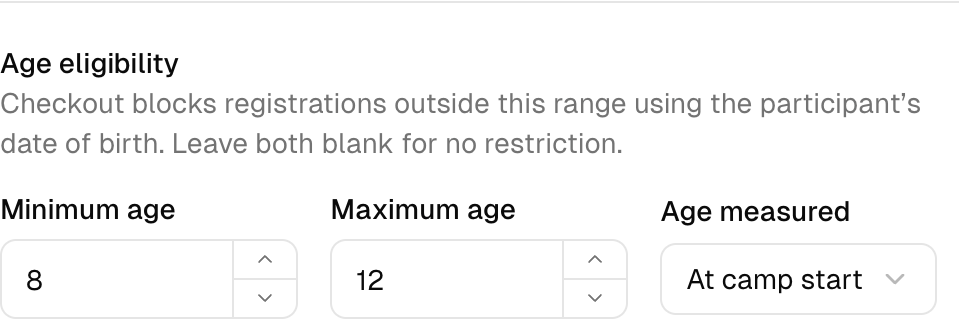
For First Turns Ski Camp, use 3 days and 8 places. Set a minimum age of 9 and a maximum age of 13. For children, check that Age measured says At camp start. Keep One package price on when one price covers the full camp.
Add a useful description and a price
Our example costs $495 CAD per person. Write what happens at camp, what is included and what to bring. Each sample camp runs for three days, 9 am to 3 pm. The sample fee includes lessons and a learner-area pass. Rentals cost extra.
Check the location, staff and optional extras
Select Pine Peak Base Lodge and the staff who can lead this program. If useful, add rental equipment as an optional extra at $95 CAD. Keep any extra cost easy to spot.
Give it dates people can book
Save the program
Review Show this camp online, Forms and waivers, and Payment settings, then save your camp template. In this demo, payments use Pay After, with no payment provider connected. A real camp needs its own payment and booking terms.
Add a dated run
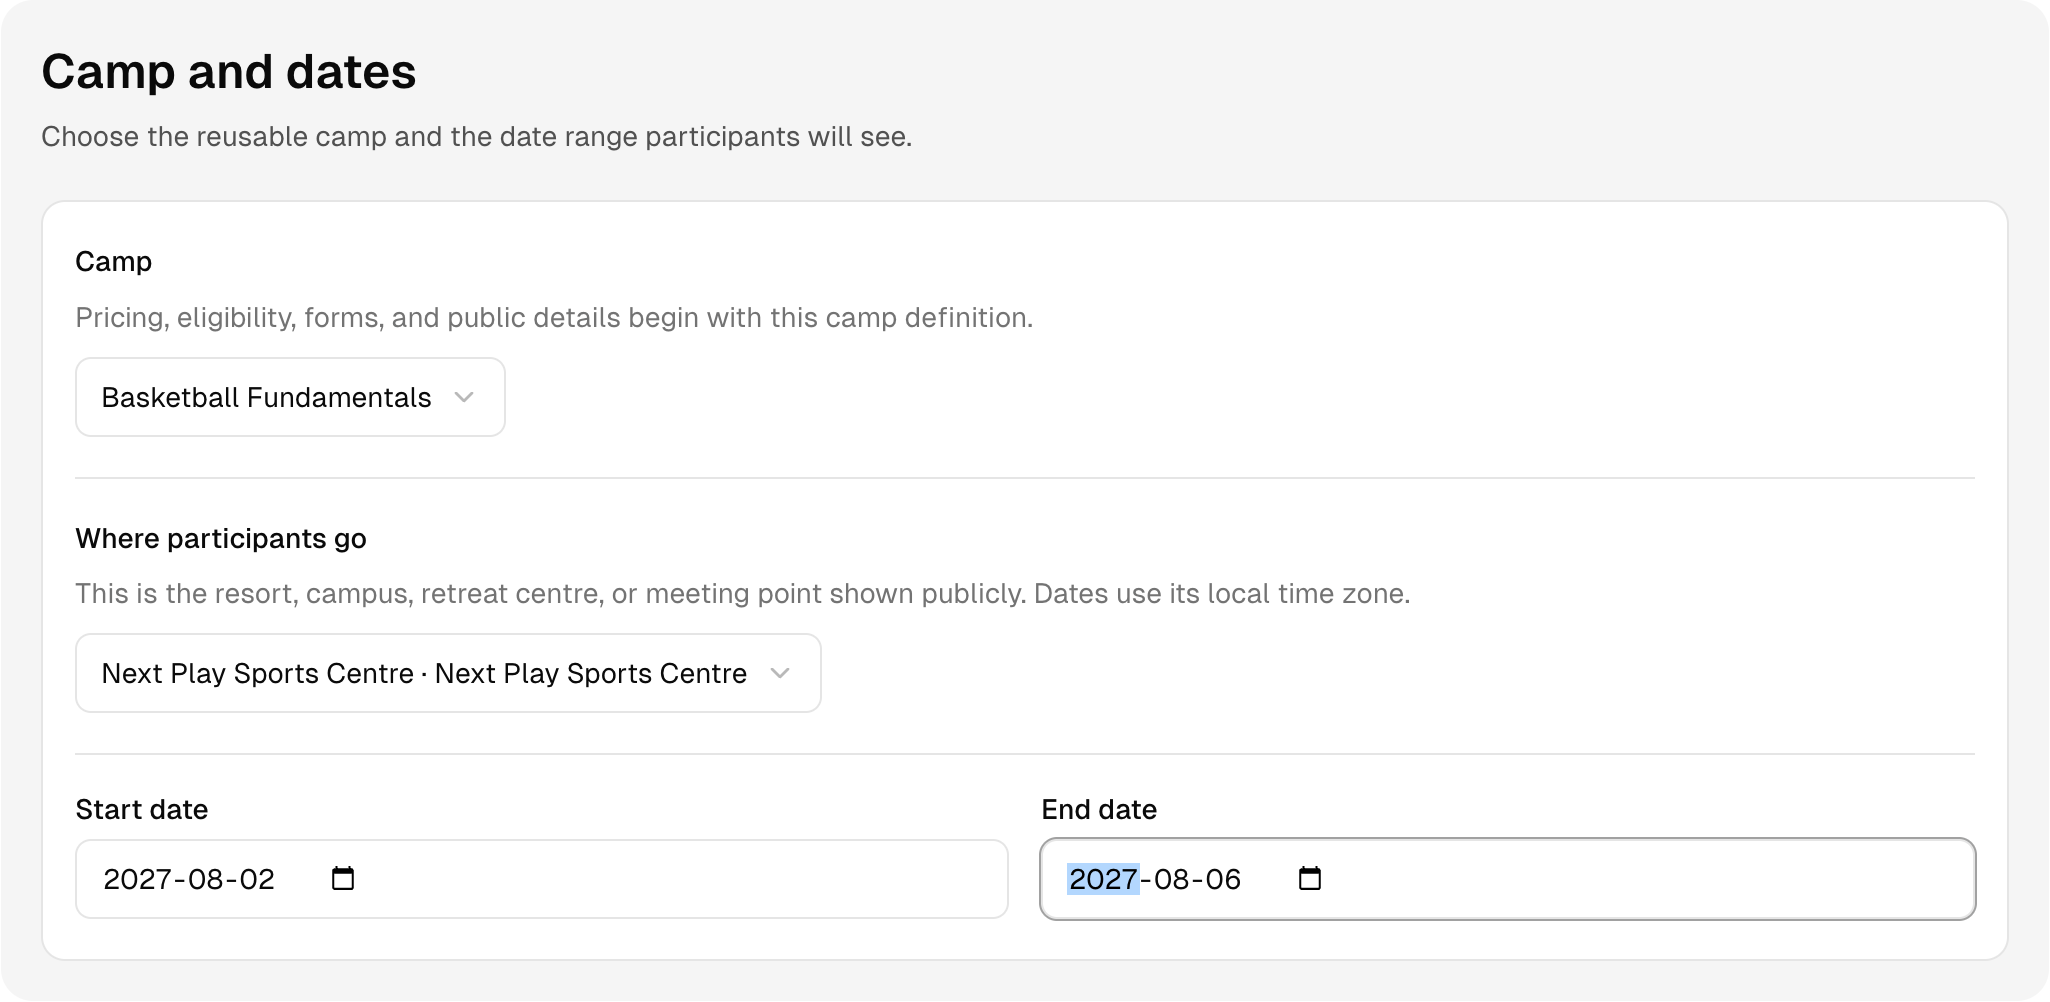
Return to Camps in the main menu and choose Add camp. Choose your template in Camp, then set Start date and End date. Choose Participant venue for the place people will attend. Daily times can be added in Operations after you save.
Check staff, places and the venue
Check Participant capacity, Price per participant and Staff. Operating location is the internal workspace that manages the camp. Participant venue is the place families see. Choose Add camp when the details are ready. Give each camp week its own dated run.
Check the result as a visitor
Open Booking page in the demo bar. Check the name, dates, price and places. A program template describes the camp. A run is a particular set of dates that people can book.
Screenshots captured in Bookify on September 19, 2026. All sample records are fictional. This walkthrough covers the screens shown here; labels may change as Bookify improves.
Your own practice camp
Go on. Try it.
Open a ready-made camp with sample programs, people and bookings. No sign-up or card needed. Your changes stay in your demo, which expires after 24 hours.
All people, camps and prices are made up. Use made-up details while you explore. Payments are for practice. No real card payment is taken.
Read it. See it. Try it.
Keep learning
Try a camp registration
See the booking page, choose a camp and check what the person booking needs to know.
Get ready for the camp day
Open a camp run, check its roster and find the daily attendance tools.
Read the full guide: Sell the right inventory, not just empty places →